


Materials:
5/6 + yard knit & 1/3 yard silk, cotton, etc. (any of these fabrics would work)

My knit is 60" wide and my dusty pink silk (faux) is 45" wide.
Your fabric doesn't have to be exactly as wide as mine, just keep in mind that if you buy a fabric that is less wide you may need to purchase more to compensate.
Cut two large squares to the dimensions of 30" x 30"
If you bought 5/6 yd of 60" fabric all you have to do is cut along the fold line.
**Edit- 30" length gives you a long top. I ended up cutting off 4-5" off the bottom. I left the measurements this long to allow plenty of length and room for the bottom to be hemmed**
**Edit- 30" length gives you a long top. I ended up cutting off 4-5" off the bottom. I left the measurements this long to allow plenty of length and room for the bottom to be hemmed**

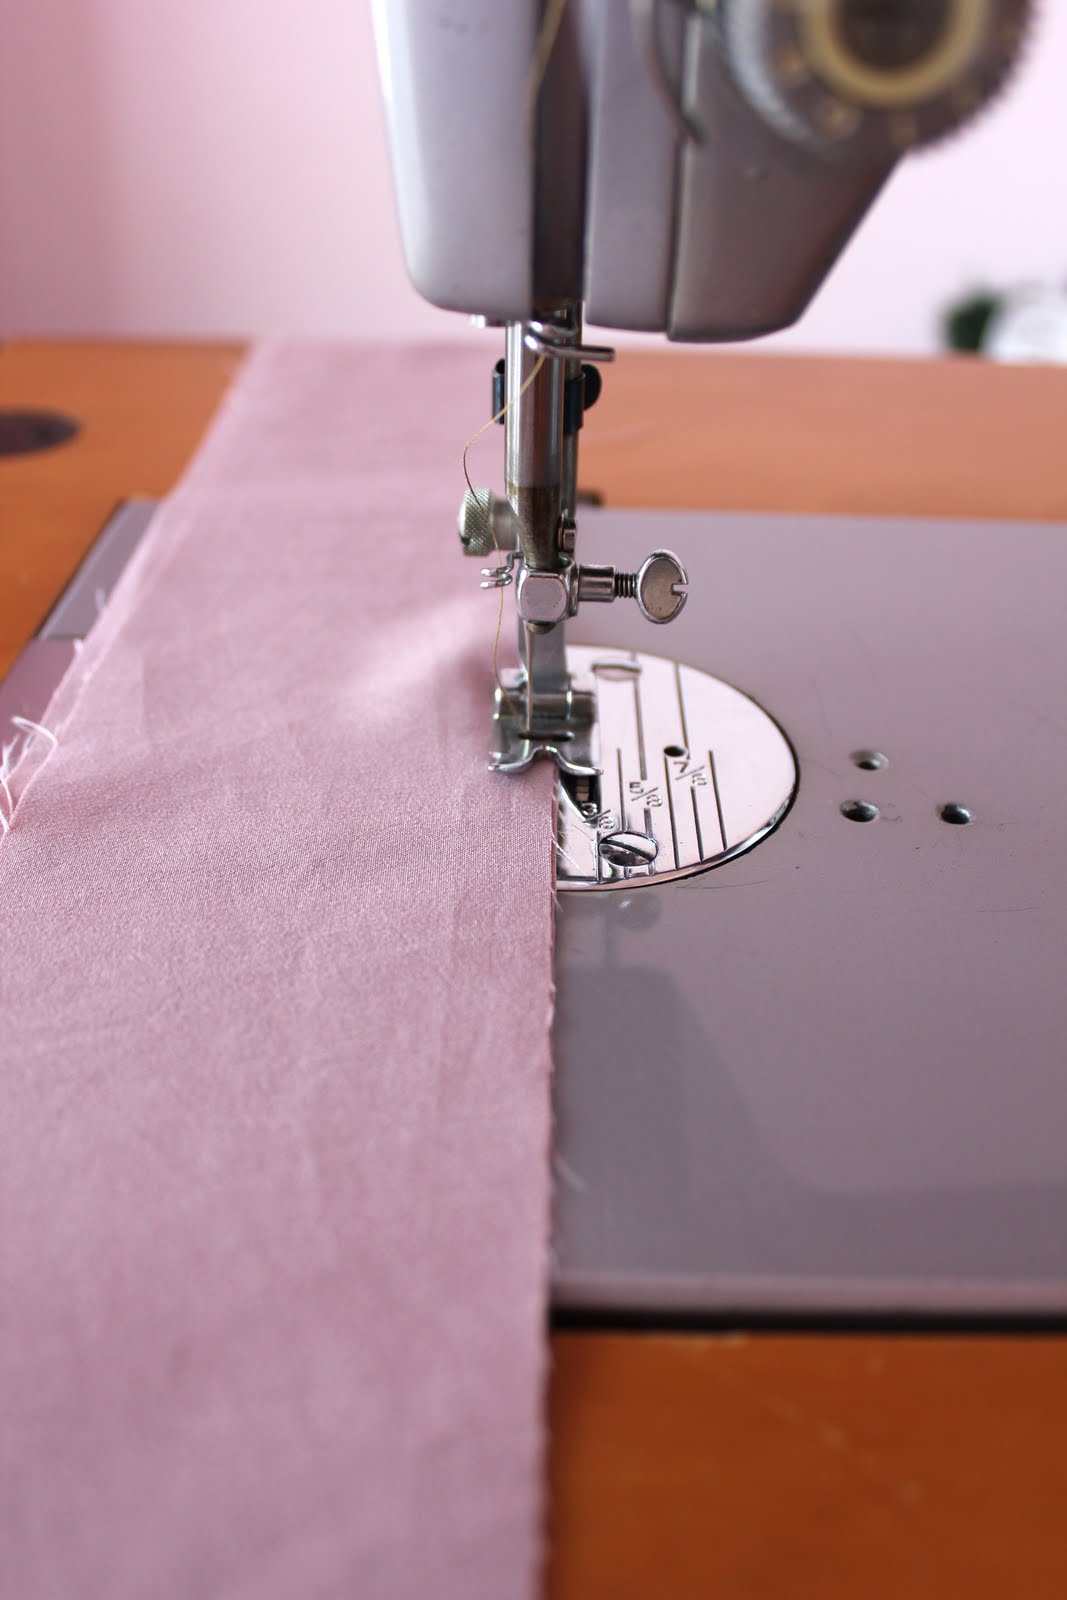
Make a casing at the top of each square. About 2" wide.

Sew down with a zig zag stitch (so it can stretch).

Start working on your sash. This is pretty much the same process used here in the big bow belt tutorial.
-UPDATE-
I made a mistake when I made my sash and cut where I shouldn't have. So your process may look slightly different than mine in the pictures to follow. When in doubt follow the instructions and don't let the pictures confuse you (:
....
Cut right down the middle of your fabric so that you have two 45" by 6" strips.


Sew your two strips together (Short sides with right sides together)

Now that you have sewn your two strips together you have a 6" wide by 90" long strip. Fold the sash in half hot dog style and sew a point as shown below. Then continue to sew down the long (90") side.
Leave about an 8" gap in this seam so that the sash can be turned inside out.

Cut off extra fabric

and turn the tube right side out.
The finished sash will be roughly 90" by 2.5" ( or a little less because of seam allowances).

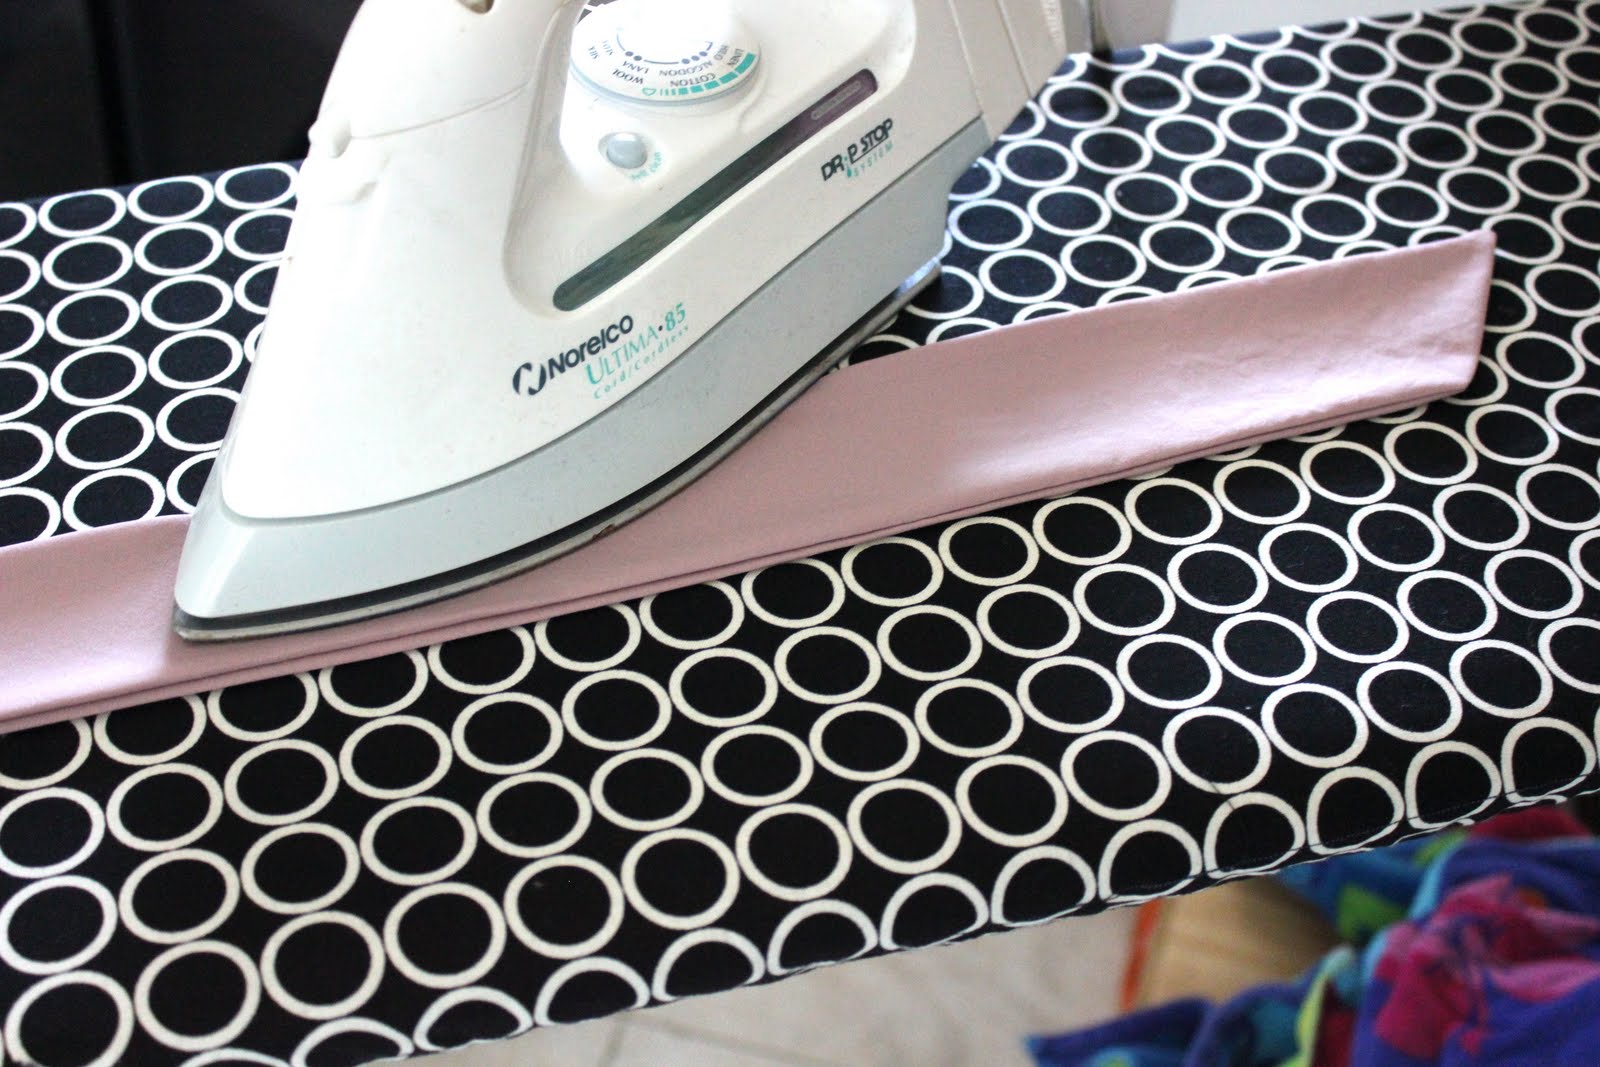
Press and either sew a top stitch around the entire perimeter or secret stitch your opening.
Use a safety pin to pull the sash through both panels of fabric.


At this point I tried it on and determined where the seams on the side should begin. I marked this place with a pin.

Pin along sides.

and sew together.

Hem or serge the bottom if you like or leave it raw like I did.
Voila. Done! I told you it was easy.

A breezy, summery top. Perfect for this ridiculously hot weather. 104 here in Texas!

No comments:
Post a Comment